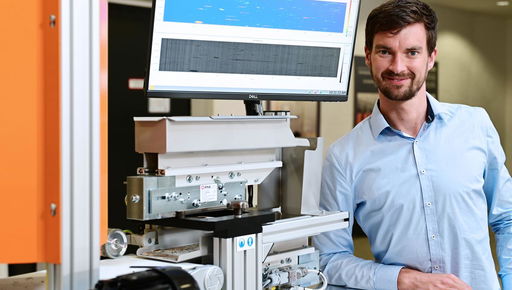
A New Procedure for Recognising Minimal Defects Has Received the Wilhelm-Klauditz Award

Dr. Torben Marhenke received the Wilhelm-Klauditz Award in Braunschweig in November. The award committee rewarded his years of research that led to successful development of a new non-destructive test procedure for recognition of defects with a diameter starting at 1 mm.
The Wilhelm-Klauditz Award comes with a prize money of 5,000 euros and is awarded for outstanding scientific or application-oriented work in the area of wood research and environmental protection every three years.
Simple and reliable determination of the mechanical parameters of wood materials
In spite of many years of use of wood materials in construction, engineering knowledge on the measuring-technical determination of mechanical wood parameters has been lacking so far. Where isotropic materials such as metals can make do with two parameters, wood materials require nine of them for clear description of their mechanical material behaviour. The measuring methods developed by Marhenke in the scope of his research will permit non-destructive determination of all nine required parameters reliably and even right in the production process in future.
Protecting resources by improving quality assurance even further
Both procedures bring enormous gains for the industry. Any production issues can be recognised early on, and countermeasures can be taken quickly, reducing rejects and warranting the corresponding qualities in spite of growing requirements.
Increased use of, e.g., wood panels in construction makes recognition of even the smallest delaminations essential as they may grow into cracks or allow moisture to enter the material. The new inspection method makes it possible to utilise the entire application potential of wood materials in construction.
A quantum leap when recognising delamination
The inspection method developed by Marhenke within the scope of his doctoral thesis is a further development of the air-coupled ultrasound procedure (ACU). Using this procedure does not require any coupling medium between the sonic head and specimen, though use in production usually requires a minimum distance between the sample and the sonic heads in order to avoid contamination of or damage to the sonic heads.
The shaft bend causes the image to blur increasingly as the distance grows, negatively affecting in particular thicker composites, such as wood panels. While this procedure used to be able to only recognise defects starting at a size of 25 mm x 25 mm, the measuring process expansion developed by Marhenke will be able to recognise defects with a diameter from 1 mm onwards in future. In addition to strict error recognition, the procedure can even determine the precise position of the defect, permitting conclusions regarding its cause.
Time reversal as a solution approach
In the ACU procedure used to date, dispensing with coupling media causes enormous transmission loss that is compensated by the new, specially developed evaluation algorithm. The time reversal (TR) applied here considerably improves error resolution of the ACU imaging. The method called ACU-TR measures the entire pressure distribution emitted by an ACU source with receivers and reconstructs it on the corresponding defect level by applying physics of acoustic holography, thereby improving the minimally detectable defect size to a considerable degree.
